Frozen Cheesy Chicken & Rice Burritos Recipe
Here’s the first part of the detailed Frozen Cheesy Chicken & Rice Burritos article.
Frozen Cheesy Chicken & Rice Burritos
Introduction
There’s something incredibly satisfying about having a stash of homemade frozen burritos ready to grab for a quick, high-protein meal. These Frozen Cheesy Chicken & Rice Burritos are a perfect balance of protein, carbs, and cheesy goodness, making them a meal-prep staple. Whether you need an easy lunch, post-workout meal, or dinner when you’re short on time, these burritos are freezer-friendly, easy to reheat, and full of flavor.
I started making freezer burritos when I realized that most store-bought ones were either too low in protein or packed with unnecessary preservatives. I wanted something fresh, filling, and nutritious—something that I could make in bulk, freeze, and heat up in just a few minutes. That’s how these burritos came to life!
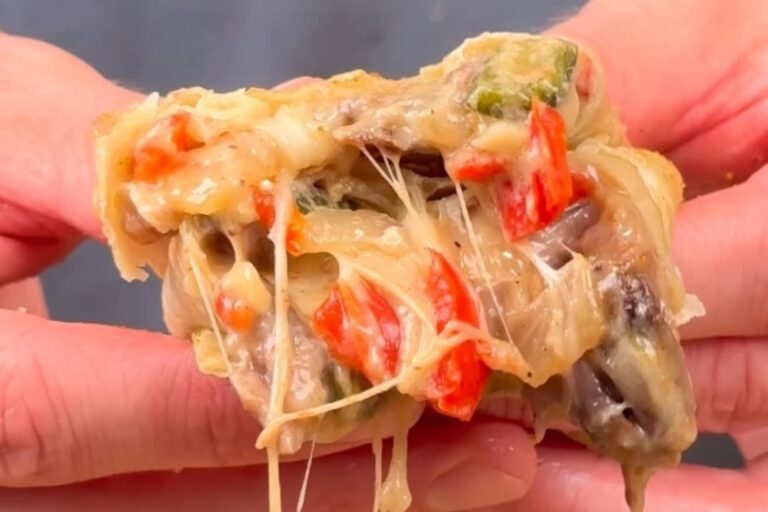
What makes these burritos so good? Tender shredded chicken, fluffy brown rice, melty cheddar cheese, and a hint of spice from salsa and seasonings. The best part? They don’t dry out when frozen and reheated—thanks to blended cottage cheese, which keeps the filling creamy and adds even more protein.
These burritos are perfect for:
- Meal prepping for the week
- Packing a protein-heavy lunch for work or school
- Post-workout fuel with the right balance of carbs and protein
- A satisfying, cheesy comfort meal that’s still calorie-conscious
Keep reading to learn how to make these burritos from scratch, including the best way to wrap, store, and reheat them so they taste fresh every time!
Why You’ll Love This Recipe
These Frozen Cheesy Chicken & Rice Burritos are the ultimate meal-prep-friendly dish, and here’s why you’ll love them:
1. High in Protein & Satisfying
Each burrito packs 52g of protein, making it an excellent meal to keep you full and support muscle recovery. Whether you’re on a high-protein diet or just looking for a balanced meal, these burritos deliver.
2. Freezer-Friendly & Easy to Reheat
These burritos are designed for freezing. They stay soft, cheesy, and delicious even after being reheated—no dry, rubbery tortillas here! Just pop one in the microwave or crisp it up in a skillet for a fresh-from-the-grill taste.
3. Cheesy & Flavorful Without Extra Calories
Using a mix of reduced-fat cheddar cheese and blended cottage cheese, these burritos stay ultra-cheesy without overloading on fat. The cottage cheese adds creaminess without the need for extra oil or heavy cream.
4. Customizable & Easy to Make in Bulk
Want to switch it up? Swap the chicken for ground turkey, add beans, or use cauliflower rice for a lower-carb version. These burritos are super adaptable, so you can change the filling to match your diet. Plus, you can make a big batch and freeze them for up to 3 months.
5. Better Than Store-Bought
Most store-bought frozen burritos lack protein and contain unnecessary preservatives. Making them yourself means fresh ingredients, no fillers, and way more flavor.
Ingredients You’ll Need
Here’s everything you need to make these cheesy, protein-packed burritos:
Main Ingredients
- 680g (1.5 lb) cooked, shredded chicken breast – A lean protein source that keeps the burritos filling.
- 360g (2 cups) cooked brown rice – Adds fiber, slow-digesting carbs, and a hearty texture.
- 180g (¾ cup) reduced-fat shredded cheddar cheese – Provides a melty, cheesy flavor without excessive fat.
- 150g (½ cup) blended cottage cheese – Makes the filling creamy and boosts the protein content.
- 120ml (½ cup) salsa – Adds flavor and moisture to the filling. Choose mild, medium, or spicy depending on preference.
Seasonings & Extras
- 1 tsp cumin – Brings warmth and a subtle smoky taste.
- 1 tsp garlic powder – Enhances the overall flavor.
- ½ tsp black pepper – Adds a slight kick.
For Assembling the Burritos
- 6 large whole wheat tortillas – A fiber-rich alternative to regular tortillas. Look for ones that are at least 10 inches in diameter for easy rolling.
Step 1: Cooking & Prepping the Ingredients
Before assembling your burritos, let’s prepare the individual components:
1. Cook the Chicken (If Not Pre-Cooked)
If you don’t have pre-cooked chicken, here’s an easy way to make juicy, shredded chicken:
- Boil Method: Bring a pot of water to a boil. Add chicken breasts and simmer for 15-20 minutes until fully cooked. Let rest for 5 minutes, then shred with two forks.
- Skillet Method: Heat 1 tbsp of avocado oil in a pan over medium heat. Cook chicken breasts for 5-6 minutes per side, then shred.
- Instant Pot Method: Place chicken breasts in the Instant Pot with ½ cup of water. Cook on high pressure for 10 minutes, then shred.
2. Cook the Brown Rice
If you don’t have pre-cooked brown rice, follow these steps:
- Rinse 1 cup of dry brown rice under cold water.
- Add to a pot with 2 cups of water and bring to a boil.
- Reduce heat, cover, and simmer for 35-40 minutes until tender. Fluff with a fork.
Meal Prep Tip: Cook extra rice and store it in the fridge for future meals!
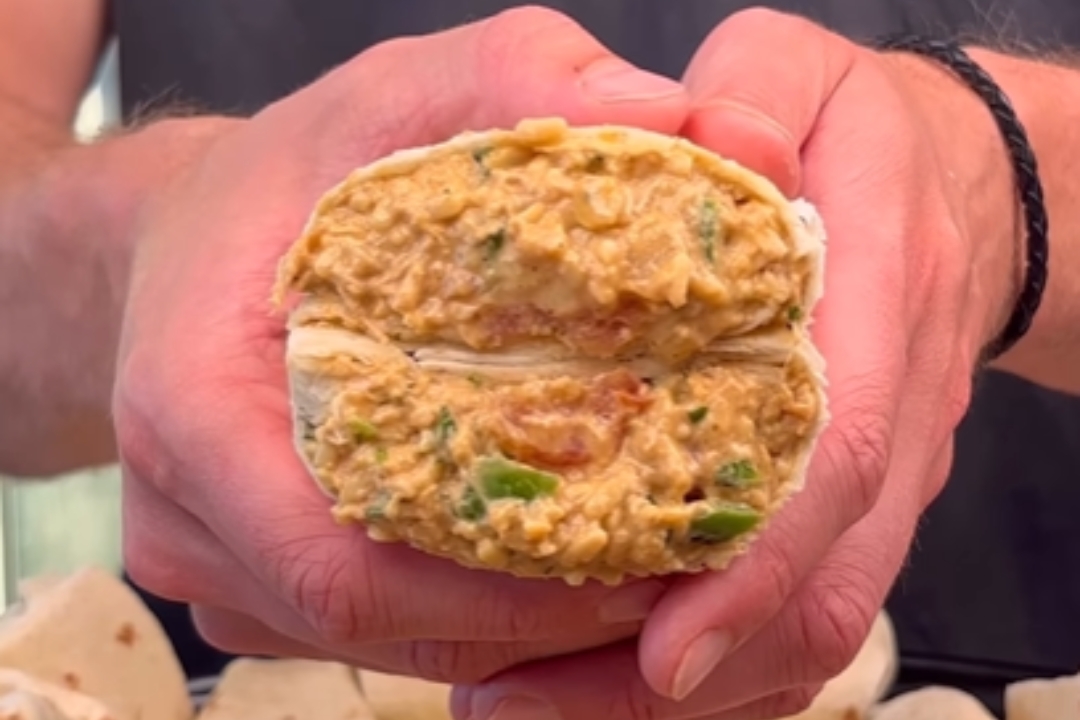
Step 2: Mixing the Cheesy Chicken Filling
Now that the chicken and rice are ready, let’s create the filling:
- In a large mixing bowl, combine:
- Shredded chicken
- Cooked brown rice
- Shredded cheddar cheese
- Blended cottage cheese
- Salsa
- Cumin, garlic powder, and black pepper
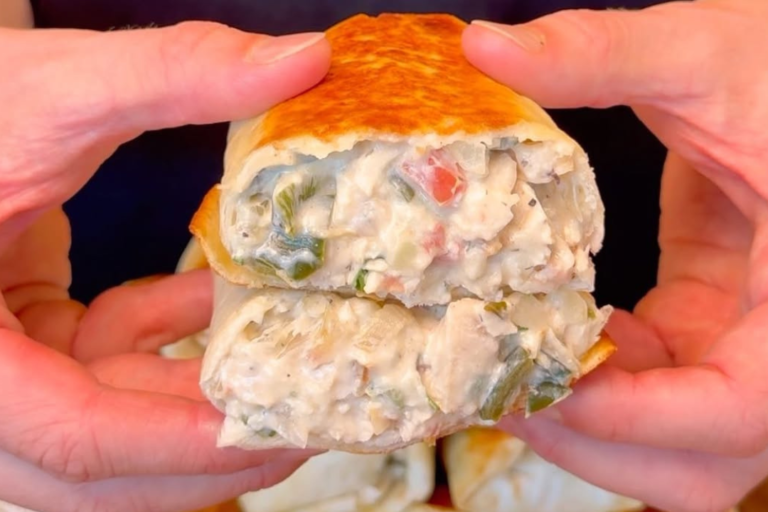
- Mix everything well until evenly coated. The heat from the rice will help melt the cheddar cheese slightly, creating a creamy, flavorful filling.
- Step 3: Assembling the Burritos
- Step 4: How to Wrap Burritos Like a Pro
- Step 5: Freezing & Storing Tips
- Step 6: The Best Ways to Reheat Frozen Burritos
- Recipe Tips, Variations & FAQs
Here’s the next part of the Frozen Cheesy Chicken & Rice Burritos article, covering how to assemble, wrap, freeze, and reheat them properly.
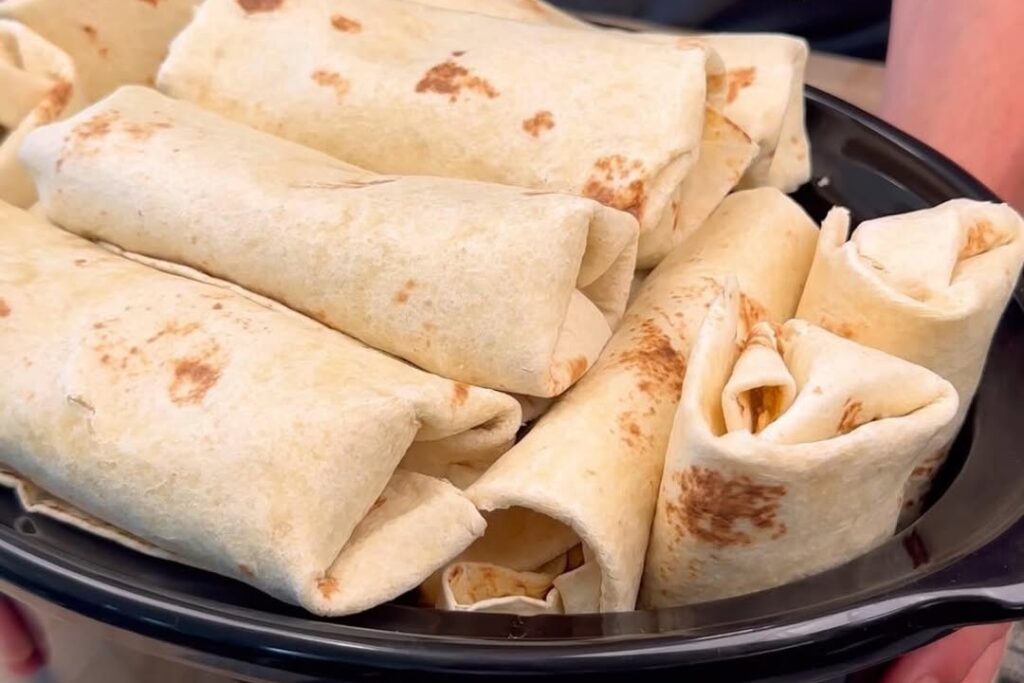
Step 3: Assembling the Burritos
Now that the cheesy chicken and rice filling is ready, it’s time to assemble the burritos!
How to Assemble Like a Pro
- Warm the tortillas – Microwave the tortillas for 15-20 seconds to make them more pliable. This prevents them from cracking when rolling.
- Portion the filling – Divide the chicken and rice mixture evenly among the 6 tortillas (about 1 heaping cup per burrito).
- Spread the filling – Place the filling in the center of each tortilla, leaving about 1-2 inches of space at the edges to make rolling easier.
Optional Add-Ins for Extra Flavor & Nutrition
Before rolling, you can customize your burritos with these optional add-ins:
- Black beans (½ cup total) – Adds fiber and a heartier texture.
- Chopped cilantro (¼ cup total) – Freshens up the filling.
- Jalapeño slices – Adds heat if you love spice.
- Avocado slices – Makes the burrito extra creamy but is best for fresh consumption (not freezing).
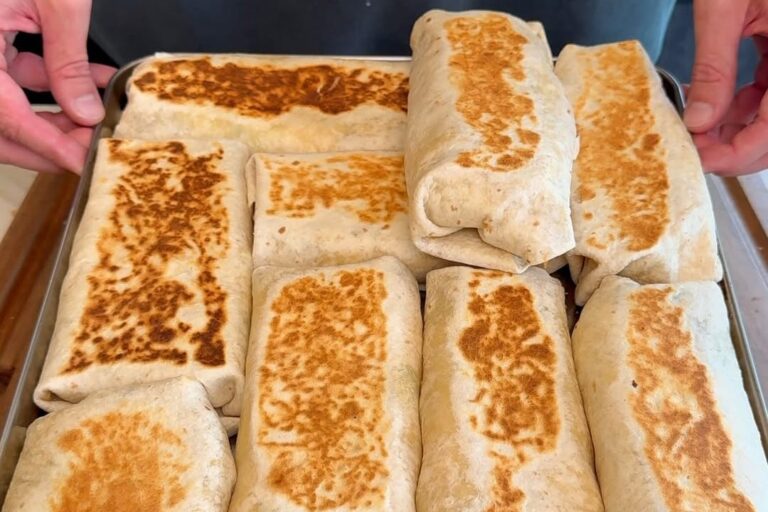
Step 4: How to Wrap Burritos Like a Pro
The key to perfect frozen burritos is wrapping them tightly so they don’t fall apart during reheating.
How to Wrap Burritos for Freezing
- Fold in the sides – Take the left and right edges of the tortilla and fold them inward, covering part of the filling.
- Roll tightly from the bottom – Starting at the bottom edge, roll the burrito upward while tucking in the filling.
- Seal the seam – Once rolled, press down gently to help the tortilla stick to itself.
- Wrap for Freezing – Use foil, parchment paper, or plastic wrap to individually wrap each burrito. This protects them from freezer burn.
- Label & Store – Write the date on the burritos and store them in a sealed freezer bag or airtight container. They’ll stay fresh for up to 3 months.
Step 5: Freezing & Storing Tips
To keep your burritos fresh and prevent sogginess, follow these freezing and storing tips:
- Let burritos cool before freezing – If the filling is too warm, condensation will form, making the tortillas soggy.
- Store in a single layer first – Freeze the burritos in a single layer on a baking sheet for 1 hour before stacking them in a container or bag. This prevents them from sticking together.
- Use freezer-safe bags – This keeps the burritos airtight and prevents them from absorbing freezer smells.
- Double wrap for long-term storage – If storing for more than a month, wrap burritos in plastic wrap first, then foil for extra protection.
Step 6: The Best Ways to Reheat Frozen Burritos
One of the best things about these burritos is that they reheat perfectly in just a few minutes! Whether you prefer a quick microwave method or a crispy skillet finish, here’s how to do it:
1. Microwave Method (Fastest Way)
- Unwrap the burrito and place it on a microwave-safe plate.
- Cover with a damp paper towel (this keeps the tortilla from drying out).
- Microwave on high for 3-4 minutes, flipping halfway through.
- Let it sit for 1 minute before eating to allow heat to distribute.
🔹 Pro Tip: If the center is still cold, microwave in 30-second intervals until fully heated.
2. Skillet Method (Best Texture)
- Unwrap the burrito and let it thaw for 5-10 minutes (or defrost it in the microwave for 1-2 minutes).
- Heat a skillet over medium heat and spray with cooking oil.
- Cook the burrito for 3-4 minutes per side until golden brown and crispy.
🔹 Why It’s Great: This method keeps the tortilla crispy while making sure the filling is hot.
3. Oven Method (For Multiple Burritos)
- Preheat the oven to 375°F (190°C).
- Place frozen burritos on a baking sheet.
- Cover loosely with foil and bake for 30-35 minutes, flipping once.
- Remove foil for the last 5 minutes to crisp up the tortilla.
🔹 Perfect for Meal Prep: If you’re reheating multiple burritos at once, this method works best.
Recipe Tips & Variations
Make It Lower Carb
- Swap the brown rice for cauliflower rice to cut carbs by almost 15g per burrito.
- Use low-carb tortillas to reduce total carbs further.
Make It Spicier
- Add extra hot sauce or chili flakes to the filling.
- Use spicy shredded cheese like Pepper Jack.
Make It Creamier
- Add 1 tbsp of Greek yogurt to the filling before rolling.
- Use extra cottage cheese for a more indulgent texture.
Nutrition Breakdown (Per Serving)
Each burrito provides a balanced mix of protein, carbs, and fat:
- Calories: 620
- Protein: 52g
- Carbs: 65g
- Fat: 18g
This makes it a great post-workout meal or a filling lunch/dinner.
Frequently Asked Questions (FAQs)
1. Can I make these burritos vegetarian?
Yes! Replace the chicken with:
- Black beans & refried beans
- Grilled tofu or tempeh
- Roasted veggies & extra cheese
2. How long do these burritos last in the freezer?
They stay fresh for up to 3 months if stored properly.
3. Can I use white rice instead of brown rice?
Absolutely! White rice makes the burritos slightly softer and more traditional.
4. Can I make smaller burritos?
Yes! Use medium-sized tortillas instead of large ones and divide the filling into 8 smaller burritos instead of 6.
5. How do I prevent the burritos from getting soggy when reheating?
- Wrap them in paper towels before microwaving.
- Use the skillet method to keep the tortilla crispy.
Conclusion
These Frozen Cheesy Chicken & Rice Burritos are the ultimate meal prep hack. They’re:
✅ High-protein & satisfying
✅ Perfect for freezing & reheating
✅ Easy to customize with different fillings
✅ Better than store-bought frozen burritos
Next time you’re looking for an easy grab-and-go meal, make a batch of these burritos! Your future self will thank you when you have a delicious, cheesy, protein-packed meal ready in minutes.